To incorporate your custom-built dashboards or URL links into the menu, you need to modify the “CUSTOM_MENU” table. Follow there steps:
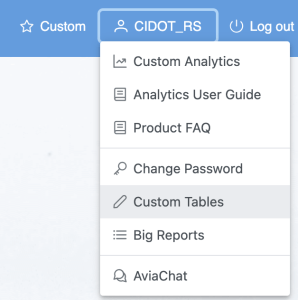
- Navigate to the menu panel under your user name. Here, select “Custom Tables”.
2. In the list of custom tables, find and open the “CUSTOM_MENU” table.
3. Use the command buttons located at the top-right corner of the page to add or delete a menu item. You can edit the content of the menu item directly within the table.

Below is a brief explanation of the fields within the “CUSTOM_MENU” table.
- Label: This field represents the text that will be shown on the custom menu panel.
- Content: This field should contain the ID number for a custom dashboard or a question, or the URL for a custom link.
- Type: Input “dashboard”, “question” or “url” according to the nature of the content. If the content is a dashboard, the field can be left blank.
- Icon: If you desire, add an icon label here. You have the freedom to choose any icon available on this page. If you leave this field blank, a default ‘>’ icon will be used for the menu item.
- Sequence: Here, input a sequence number to determine the order of appearance for the menu items. Items associated with smaller sequence numbers will appear first.
- Default_Values: This field can be used to specify default values for some dashboards or questions (such as start and end months). The input must follow a valid JSON format. That is, strings should be wrapped in quotation marks, and the whole value should start with “{” and end with a “}”.
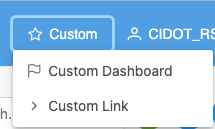
In the example shown above, two custom menu items will be created. The first item will launch a dashboard with the ID 613, using some preset values. In contract, the second item will open a specific webpage.